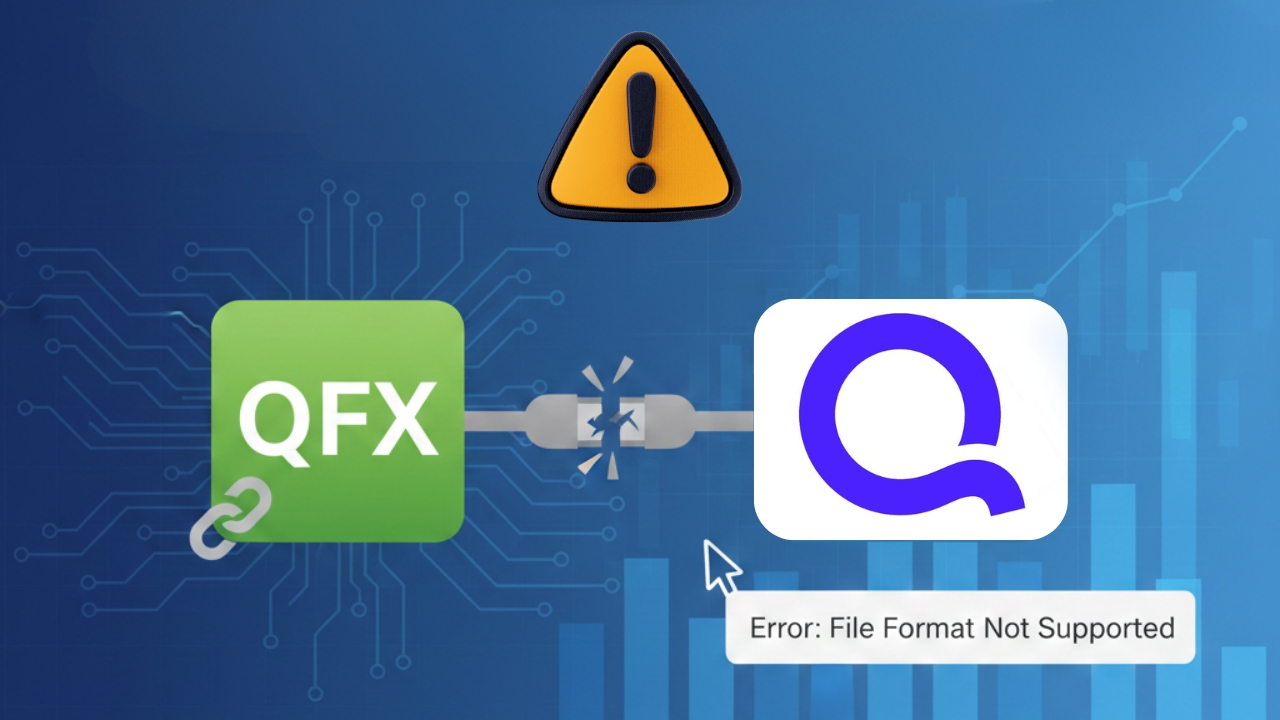
Managing your personal or business finances with Quicken can be powerful, especially when your bank lets you download your account data in a .QFX file. But what do you do after you download that file? How do you bring it into your Quicken software? Many users struggle with this simple yet important task.
In this easy-to-follow guide, we’ll explain what a QFX file is, why you might want to import one, and step-by-step instructions for Windows and Mac Quicken versions. We’ll also cover common issues, best practices, and tips to make your import process smooth and successful. Let’s get started!
What Is a QFX File?
Before diving into the steps, it’s important to understand what a QFX file is. QFX stands for Quicken Financial Exchange. It is a file format used by financial institutions to export transaction data that can be imported into Quicken software. This file format is a proprietary version of the more general Open Financial Exchange (OFX) format created by Intuit specifically for Quicken.
Banks and credit card companies may allow you to download your transaction history in QFX format. Once downloaded, this file can be brought into Quicken to update your account without manually typing all those transactions.
Why Import a QFX File Into Quicken?
Importing a QFX file into Quicken helps you :-
- Automatically add transactions without manual entry.
- Quickly update account history after offline banking downloads.
- Keep your financial records up to date with minimal effort.
- Use transaction data that isn’t automatically downloaded through Quicken online services.
This is especially helpful if your bank doesn’t support automatic online connection with Quicken. Instead, they provide a QFX download that you can import manually.
Before You Begin: Back Up Your Quicken File
Always back up your Quicken data file before importing a QFX file. This ensures you can revert if something goes wrong. To back up your Quicken file :-
- Open Quicken.
- Go to File in the top menu.
- Click Backup and Restore.
- Select Backup Quicken File.
- Choose a safe location and save the backup.
By backing up regularly, you protect your financial history and avoid accidental loss if the QFX import includes errors.
Import QFX Into Quicken on Windows
Importing a QFX file in Quicken for Windows is straightforward. Follow these steps :-
1: Download the QFX File : Log in to your bank or credit card website and locate the Download Transactions or Export Data section. Choose Quicken / QFX format and download the file to an easy-to-find location (like your Downloads folder).
2: Open Quicken : Launch Quicken on your Windows PC. Make sure your data file is open and ready.
3: Start The Import : From the File menu, choose :-
File > File Import > Web Connect (.QFX) File
This tells Quicken you want to import from a QFX file you downloaded.
4: Select Your QFX File : A window will open. Navigate to where you saved your QFX file, select it, and click Open.
5: Choose How To Import : Quicken will ask how to import the file :-
- Add a new account : Choose this if the QFX file is for an account not yet in Quicken.
- Link to an existing account : Choose this to add the transactions into an account already in Quicken.
Select the appropriate option and continue.
6: Review Transactions : After importing, Quicken will display the transactions. Carefully review them :-
- Check dates.
- Check amounts.
- Make sure categories look correct.
This lets you make corrections or adjustments before everything is finalized. Once satisfied, click Accept All or Accept Selected transactions.
Import QFX On Quicken For Mac
The steps for Quicken for Mac are similar, with a slight difference in menu names:
01. Download the QFX File :- Just like on Windows, download your QFX file from the financial institution’s website.
02. Open Quicken on Mac :- Start Quicken for Mac and make sure the main data file is open.
03. Import The QFX File :- From the top menu, go to –
File > Import
Choose Bank or Brokerage File (OFX, QFX).
04. Select The File :- Navigate to the QFX file. Select it and click Open.
05. Import Options : Quicken will show a dialogue for assigning the data:
- If the account already exists, select it to link.
- If not, you can choose to create a new account.
06. Review And Accept :- After import, review the transactions and make sure they look correct. Then click Continue or Accept to finalize the process.
Tips For Successful QFX Imports
Here are some helpful tips to ensure your QFX imports go smoothly
- Disconnect Online Services (if needed) : If your account in Quicken is already connected to online banking, you may need to disconnect its online services before importing the QFX file. In Quicken’s account settings, you can deactivate the download feature for that account, then run the import. This ensures Quicken handles the file without trying to merge online connections.
- Ensure File Integrity : Sometimes the bank’s QFX file may not meet Quicken’s format expectations, resulting in errors like “unable to verify financial institution info.” If this happens, contact your bank to see if they support QFX downloads or try re-downloading the file.
- Keep QFX Files Clean : If your QFX file includes transactions you have already imported using online services, Quicken may skip or duplicate items. Where possible, download only new activity or clear out older entries before importing.
- Use Categories Wisely : Quicken assigns categories to each transaction. If you import a large number of transactions, consider using Renaming Rules to auto-categorize and speed up your workflow. This feature lets you set rules so similar transactions are categorized automatically during future imports.
Common Errors and How to Fix Them
Importing QFX files is usually straightforward, but sometimes users run into errors. Here are common issues and solutions:
- Quicken Won’t Import The QFX File : If Quicken doesn’t accept the QFX file, first check that the file extension is .QFX. It must be in Quicken’s supported format. If it still fails, ensure the file was downloaded correctly from your bank’s website.
- Financial Institution Not Verified : Some banks send QFX files but are not certified or the file may lack proper identification fields. This can trigger an error message in Quicken. In these cases, try contacting the bank for a properly formatted QFX download.
- Already Downloaded Transactions : Sometimes the transactions in the QFX file have already been downloaded in a prior import. Quicken may skip duplicates. If duplicates appear, you can remove them from the register or reject the import for those specific items.
- Import Fails with Connection : If importing tries to recreate an online connection, you may need to deactivate the account’s online services before manually importing. This ensures the QFX import doesn’t trigger connection attempts.
Advanced: Creating a QFX File
If you are exporting from another software (like a financial aggregator or converting from another format), make sure the file is in true QFX format. Some tools let you create QFX from CSV or OFX, but only QFX will import correctly into Quicken without additional conversion steps. Always validate your file with a simple text editor to see if it contains recognizable header information and correct XML structure typical of QFX.
Differences: QFX vs QXF vs QIF
It’s easy to confuse QFX with other formats.
- QFX : Used to import bank or credit card transactions into Quicken.
- QXF : Quicken’s internal Quicken Transfer Format, used to move entire Quicken data between versions. This is not the typical bank transaction file.
- QIF : An older Quicken format that Quicken no longer widely supports for bank accounts.
Knowing the difference helps you choose the correct import method.
FAQ: Importing QFX Files Into Quicken
Why won’t Quicken import my QFX file?
This usually happens if the QFX file is corrupted, incomplete, or not properly formatted. Try re-downloading the QFX file from your bank’s website. Also, make sure the file extension is .qfx and not renamed from another format like CSV or OFX.
Quicken says “Unable to verify financial institution.” What should I do?
This error occurs when the QFX file does not contain proper bank identification details. In this case:
1. Re-download the file directly from your bank
2. Ensure your Quicken version is up to date
3. Temporarily deactivate online services for that account and try importing again
Why are my imported transactions missing or duplicated?
Duplicate transactions can appear if the same data was already downloaded using online banking. Missing transactions may occur if Quicken filters them as duplicates. Review the register carefully and delete duplicates manually if needed.
Can I import a QFX file into an existing Quicken account?
Yes. During the import process, choose “Link to existing account” instead of creating a new one. This ensures transactions are added to the correct account.
Do I need to disconnect online banking before importing a QFX file?
In some cases, yes. If Quicken tries to reconnect online services during import, go to Account Settings > Online Services and deactivate downloads before importing the QFX file.
Why does Quicken not recognize older QFX files?
Older QFX files may contain outdated formatting or bank IDs. Try importing smaller date ranges or request a fresh download from your financial institution.
Is QFX the same as QIF or QXF?
No.
*QFX is for importing bank transactions
*QIF is an older format with limited support
*QXF is used to transfer entire Quicken data files
Only QFX works reliably for bank imports.
What should I do if none of the solutions work?
If issues continue, create a backup of your Quicken file and seek Professional Quicken support. Expert assistance can help resolve file compatibility, account linking, and data integrity problems quickly.
Note : We Offer Quicken Setup, Migration, Upgrade & Backup, Quicken Support Services, Quicken Consulting Services, Quicken Bookkeeping Services, For startups and home business.
Importing a QFX file into Quicken is a valuable skill that saves time and helps keep your financial records accurate and up to date. Whether you are a new Quicken user or have been managing finances for years, knowing how to handle manual imports gives you flexibility when automatic downloads aren’t available. Just remember to back up your Quicken file first, follow the correct menu steps based on your platform, and review imported transactions carefully before accepting them. With practice, importing QFX files becomes a routine part of your financial workflow.