Choosing the right version of Quicken is crucial to effectively manage your finances. With various versions available, each tailored to specific needs, this step-by-step guide will help you navigate through the options and select the Quicken version that best suits your financial goals and requirements.
Chapter 1: Understanding Different Quicken Versions
Before diving into the selection process, let’s explore the different Quicken versions available:
- Quicken Starter: Ideal for beginners, it focuses on basic budgeting and expense tracking features.
- Quicken Deluxe: Offers advanced budgeting tools, investment tracking, and customizable reporting.
- Quicken Premier: Includes all Deluxe features, along with enhanced investment tracking and tax planning tools.
- Quicken Home & Business: Designed for small business owners, it combines personal finance management with business expense tracking.
Chapter 2: Assessing Your Financial Needs
Before making a decision, evaluate your financial requirements and goals:
- Personal Finances: If your primary goal is managing personal finances, options like Starter or Deluxe might be suitable.
- Investment Management: If you have investments and need detailed tracking, Deluxe and Premier versions are worth considering.
- Tax Planning: For users who require tax planning tools, Premier offers specialized features.
- Small Business: Opt for Home & Business if you’re a small business owner looking to manage both personal and business finances.
Chapter 3: Prioritizing Features
Explore the features offered by each Quicken version and assess which ones align with your priorities:
- Basic Budgeting: Starter is suitable for basic budget creation and expense tracking.
- Advanced Budgeting: Deluxe and Premier offer more advanced budgeting tools and goal setting.
- Investment Tracking: Deluxe and Premier versions provide investment portfolio management features.
- Tax Planning: Premier version includes tax planning tools for estimating taxes and deductions.
- Business Management: Home & Business combines personal finance management with business expense tracking.
Chapter 4: Cost Considerations
Determine your budget for Quicken software:
- Starter: The most affordable option, ideal for basic financial management.
- Deluxe: Slightly pricier but offers advanced budgeting and investment features.
- Premier: Offers tax planning and enhanced investment tracking at a moderate cost.
- Home & Business: The highest-priced option, suitable for small business owners.
Read Also : Complete Guide To Getting Started With Quicken For Mac
Chapter 5: Trial and Testing
Take advantage of free trials offered by Quicken to experience the features firsthand:
- Explore Features: During the trial period, explore the features relevant to your financial needs.
- Evaluate User Interface: Assess if the user interface is intuitive and suits your preferences.
- Test Compatibility: Ensure the software works well with your Mac and meets your expectations.
Chapter 6: Making Your Decision
Now that you’ve gathered all the information, it’s time to make an informed decision:
- Align with Priorities: Select the Quicken version that aligns with your financial priorities and goals.
- Consider Future Needs: Consider if your needs might change in the future and choose a version that accommodates growth.
- Value for Money: Choose a version that provides the features you need without exceeding your budget.
Chapter 7: Purchasing and Installing Quicken
Once you’ve made your decision, follow these steps to purchase and install the selected Quicken version:
- Purchase: Visit the official Quicken website and purchase the chosen version.
- Download Installer: Download the installer for your selected version.
- Run Installer: Run the installer and follow the on-screen instructions to install Quicken on your Mac.
Chapter 8: Initial Setup and Account Configuration
After installation, set up your Quicken software:
- Create Quicken Account: Sign up for a Quicken account using your email and password.
- Link Financial Institutions: Link your bank accounts, credit cards, loans, and investments for automatic updates.
Read Also : Comprehensive Guide : What Is Quicken Software?
Chapter 9: Navigating the Quicken Interface
Familiarize yourself with the Quicken interface for efficient usage:
- Dashboard Overview: Understand the main dashboard that provides an overview of your financial situation.
- Navigation Tabs: Explore different tabs for accounts, budgets, investments, and more.
Chapter 10: Customization and Personalization
Personalize your Quicken experience:
- Account Customization: Customize account names and categories for easy identification.
- Budget Customization: Tailor your budgets to match your specific financial goals.
Chapter 11: Syncing with Mobile Devices
Stay connected to your finances on the go by syncing Quicken with your mobile device:
- Download Mobile App: Download the Quicken mobile app from the App Store.
- Sync Data: Follow the app’s instructions to sync your Quicken data with your mobile device.
Chapter 12: Exploring and Maximizing Features
Explore and utilize the features offered by your chosen Quicken version:
- Expense Tracking: Start tracking your income and expenses for a clear financial picture.
- Budgeting: Create and manage budgets to stay on top of your spending.
- Investment Tracking: Utilize investment tools to monitor your investment portfolio.
- Tax Planning: If applicable, use tax planning features to estimate taxes and deductions.
- Business Management: For Home & Business users, explore tools for both personal and business finances.
Read Also : A Comprehensive Guide : What Is NetSuite ERP Software?
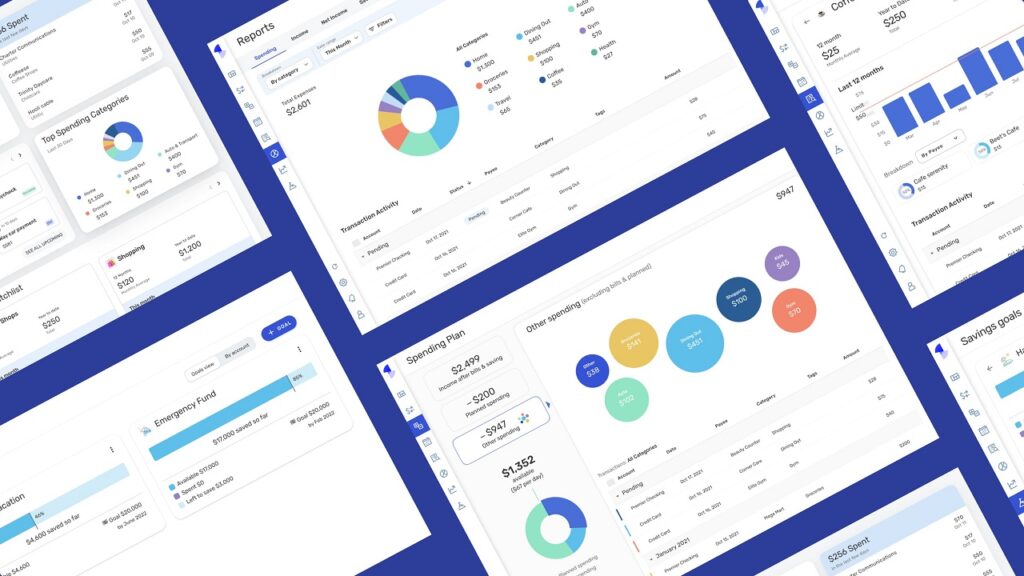
Chapter 13: Generating Reports and Insights
Generate reports to gain insights into your financial health:
- Select Report Types: Choose from various report options such as income and expense reports, net worth reports, and investment reports.
- Customize Reports: Customize report parameters to focus on specific timeframes and categories.
Chapter 14: Security and Data Privacy
Understand Quicken’s security measures to protect your financial data:
- Encryption: Quicken employs encryption to safeguard your sensitive information.
- Password Protection: Set a strong password to secure access to your Quicken data.
Chapter 15: Troubleshooting and Customer Support
Learn how to troubleshoot common issues and seek help from Quicken’s customer support:
- Official Resources: Explore Quicken’s official website for FAQs, user guides, and troubleshooting tips.
- Customer Support: Contact Quicken’s customer support for personalized assistance.
Chapter 16: Continuous Learning and Optimization
Continue exploring Quicken’s features and capabilities:
- Online Resources: Stay updated with Quicken’s official resources for new features and tips.
- Experimentation: Experiment with different tools and features to optimize your financial management.
Note : Aenten provides Quicken Support Services Services for Small businesses.
Conclusion
You’ve successfully navigated through the step-by-step guide to selecting the right Quicken version for your needs and effectively getting started with it on your Mac. By aligning your priorities, assessing features, testing the software, and making an informed decision, you’ve set the foundation for efficient and empowered financial management. Remember, Quicken is a tool that can evolve with your changing financial needs, so continue exploring and maximizing its capabilities to achieve your financial goals.